Department Managers — the basics
Who this is for: any department manager / validator (TT, HR, TMT, FIN, TRN,
CD, CI, WS, CS, SM, AIM — and CT/SOT, who have extra tools in their own guides).
Time: ~5 minutes.
You'll need: a management.<your team> module (the 🛡 Management icon
in the left nav).
You only ever see your own department. Management surfaces are strictly per-team — a manager grant scopes you to that team's requests. Only Finance and P&C see all teams.
Every managed department has the same two core surfaces: Time Validations and Leaves & Absences. This guide covers those. If you manage CT or SOT, read this first, then your team's guide for the extra tools.
1. The Management landing
Open Management. You get one tab per team you manage. Each tab shows cards for that team's surfaces.
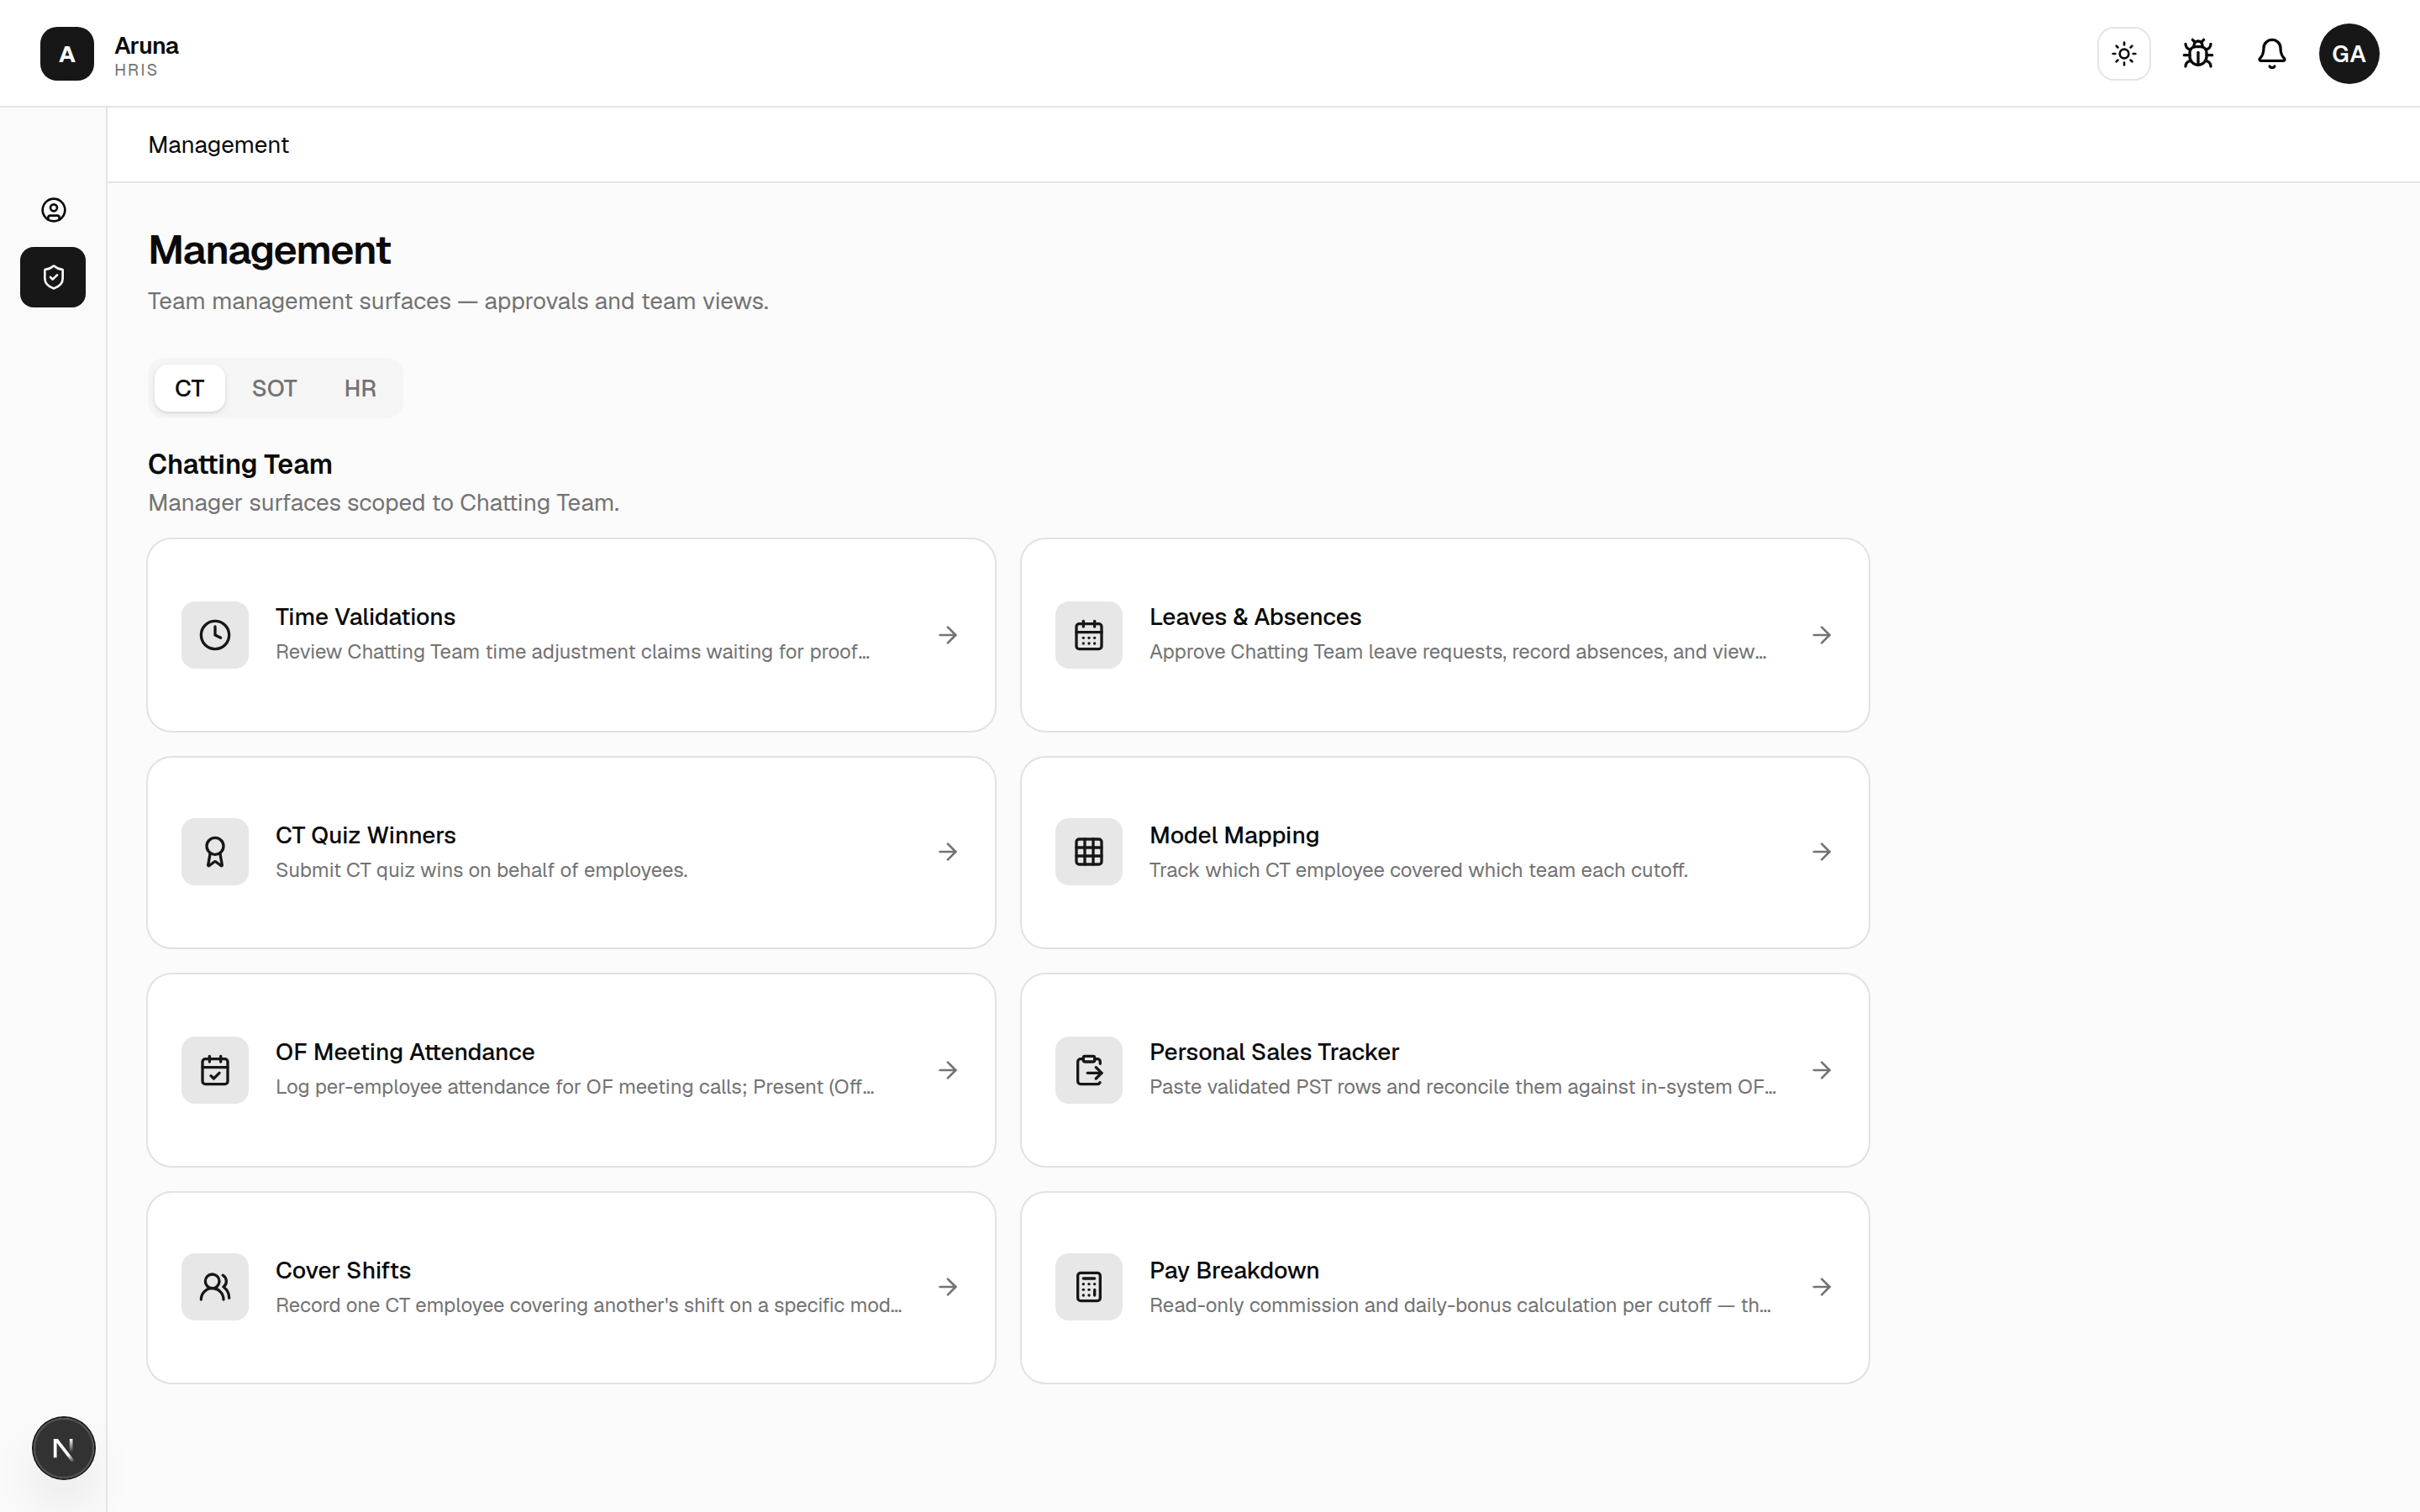
The two cards every team has:
- Time Validations — review time-adjustment claims waiting for proof review.
- Leaves & Absences — approve leave, record absences, and view the team calendar.
(The other cards are team-specific — see the CT / SOT guides.)
2. Validate time-adjustment claims
Open Time Validations for your team.
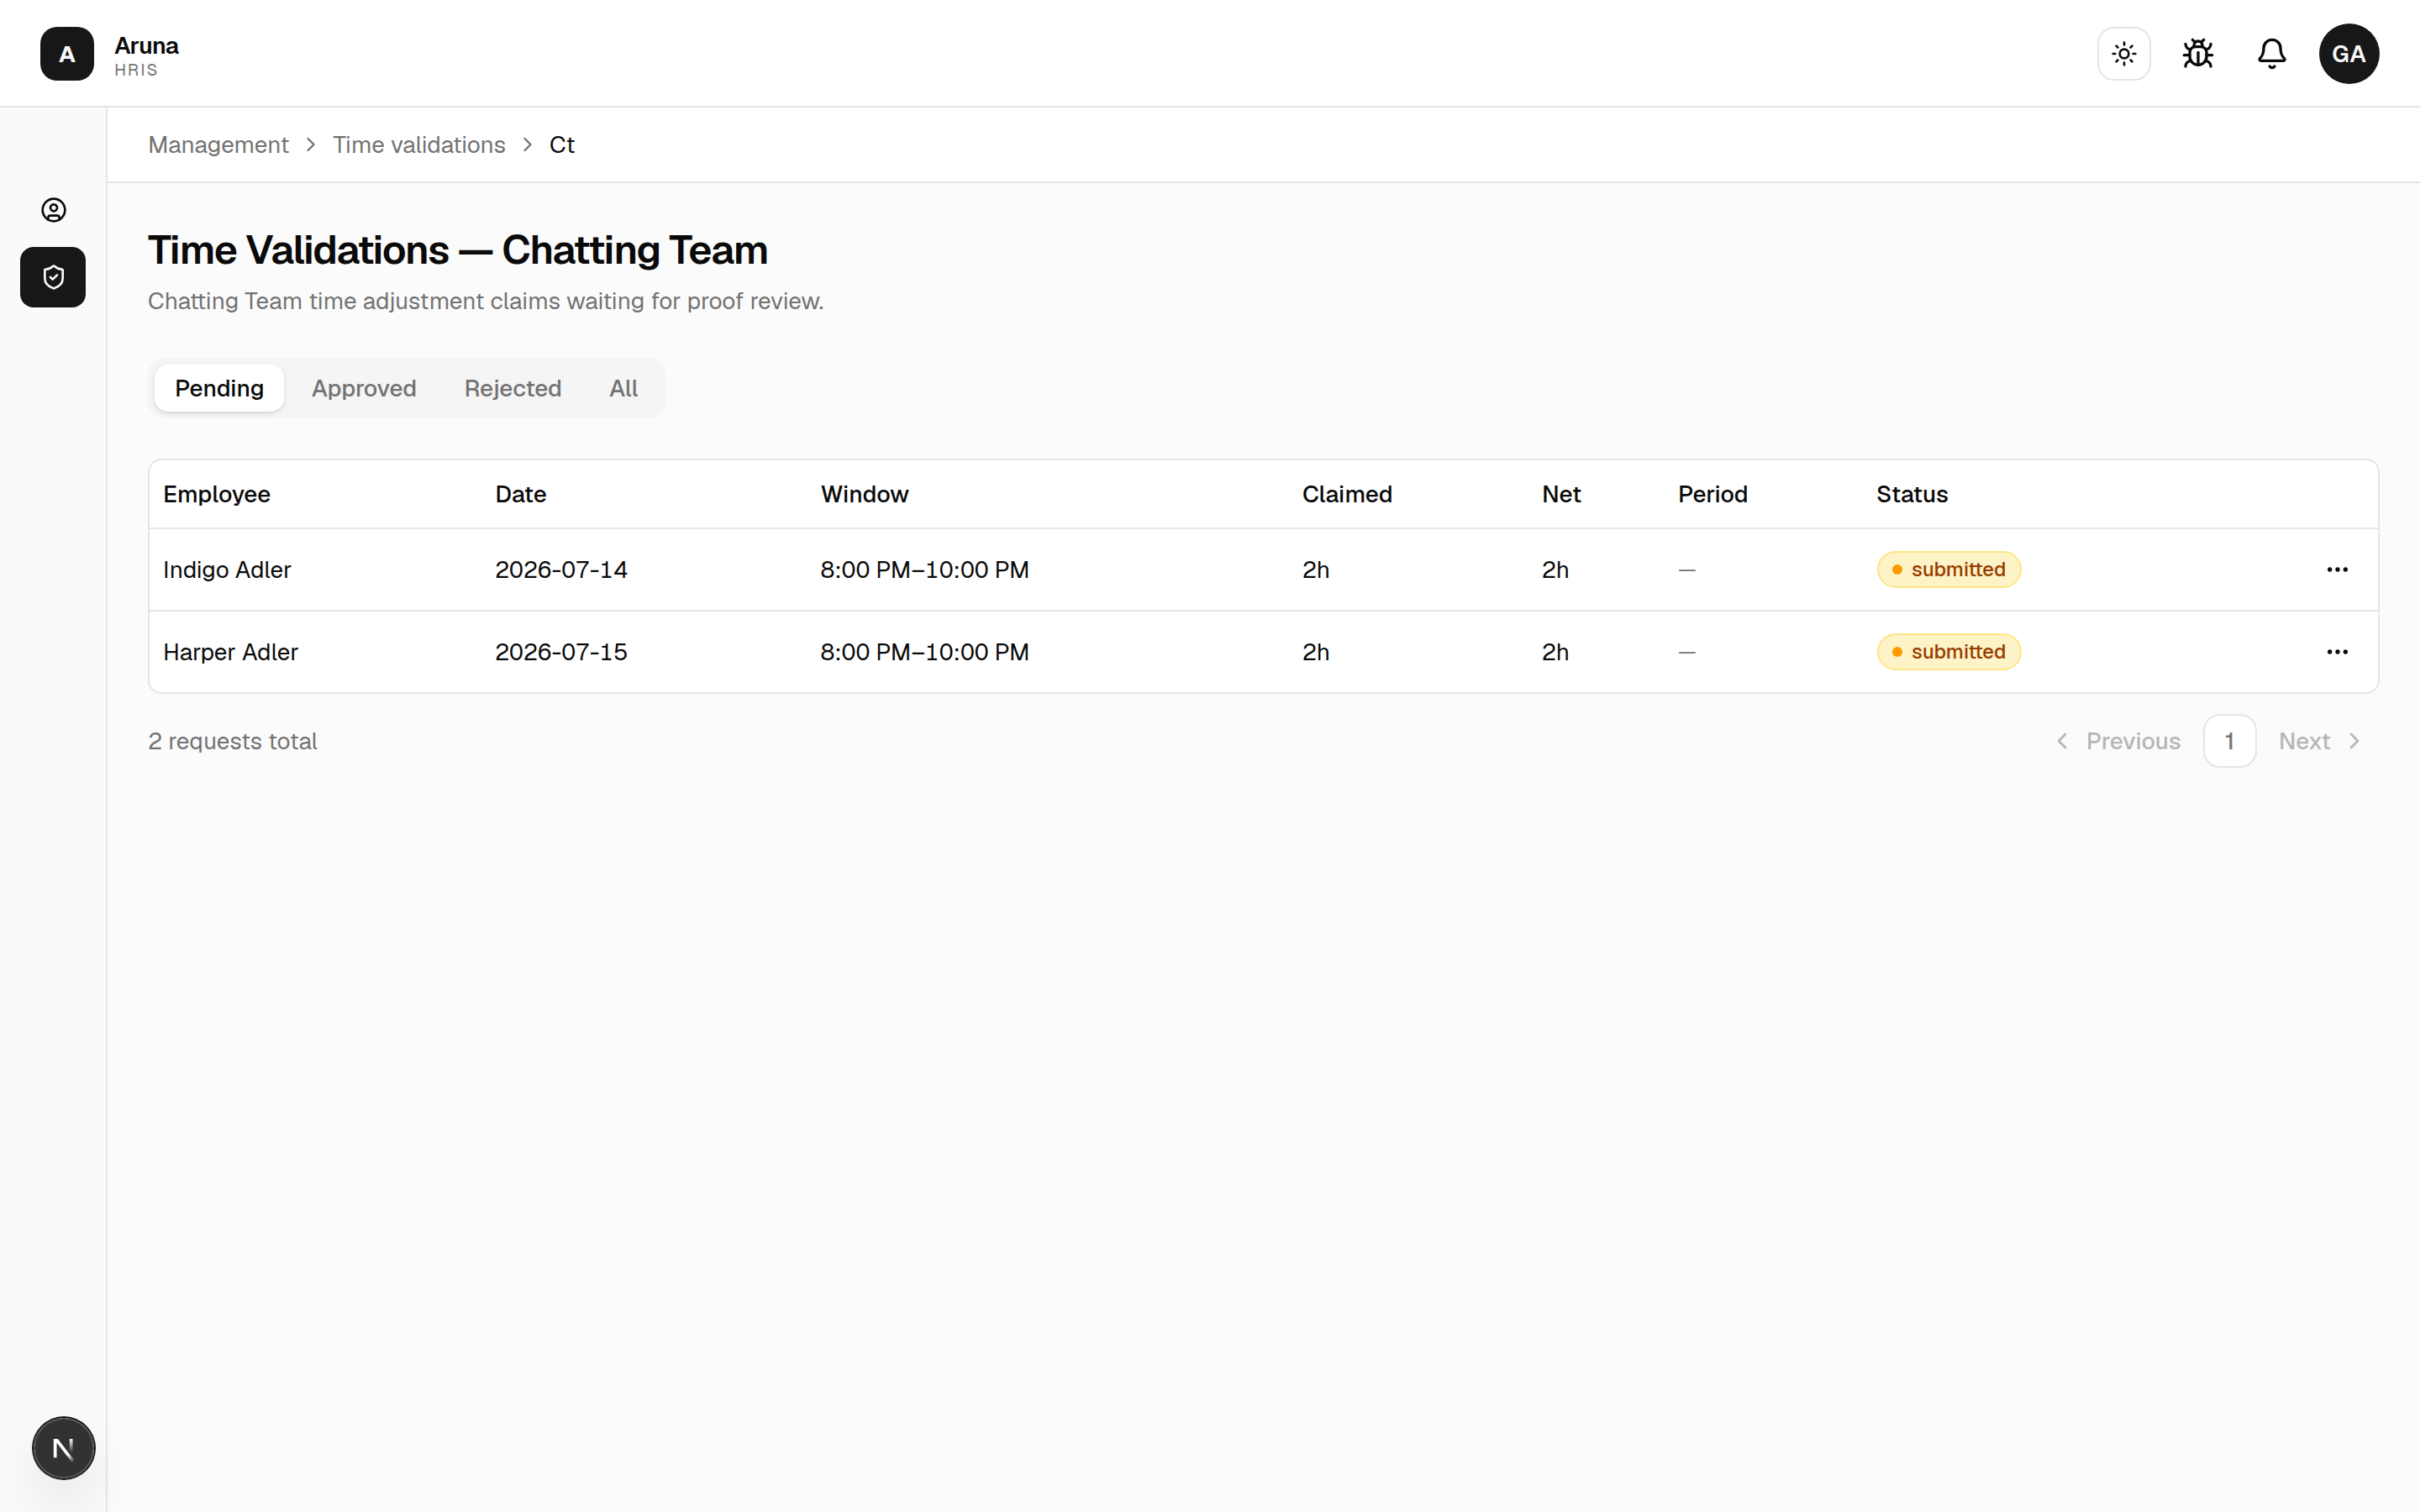
- The Pending tab is your queue; Approved, Rejected, and All show the rest.
- Each row shows who filed it, the date and window, the claimed vs net hours, the period, and any proof the employee attached.
Click a row to open the review dialog. It shows the claim, the employee's Time Doctor sessions for that day, and the decision controls: adjust the approved hours, add a note (required when rejecting), then Approve or Reject.
- Approved hours flow into that period's payroll for your team.
You only see claims from your department. A person who transferred in mid-cutoff brings their pending claims to you.
3. Approve leave & record absences
Open Leaves & Absences for your team.
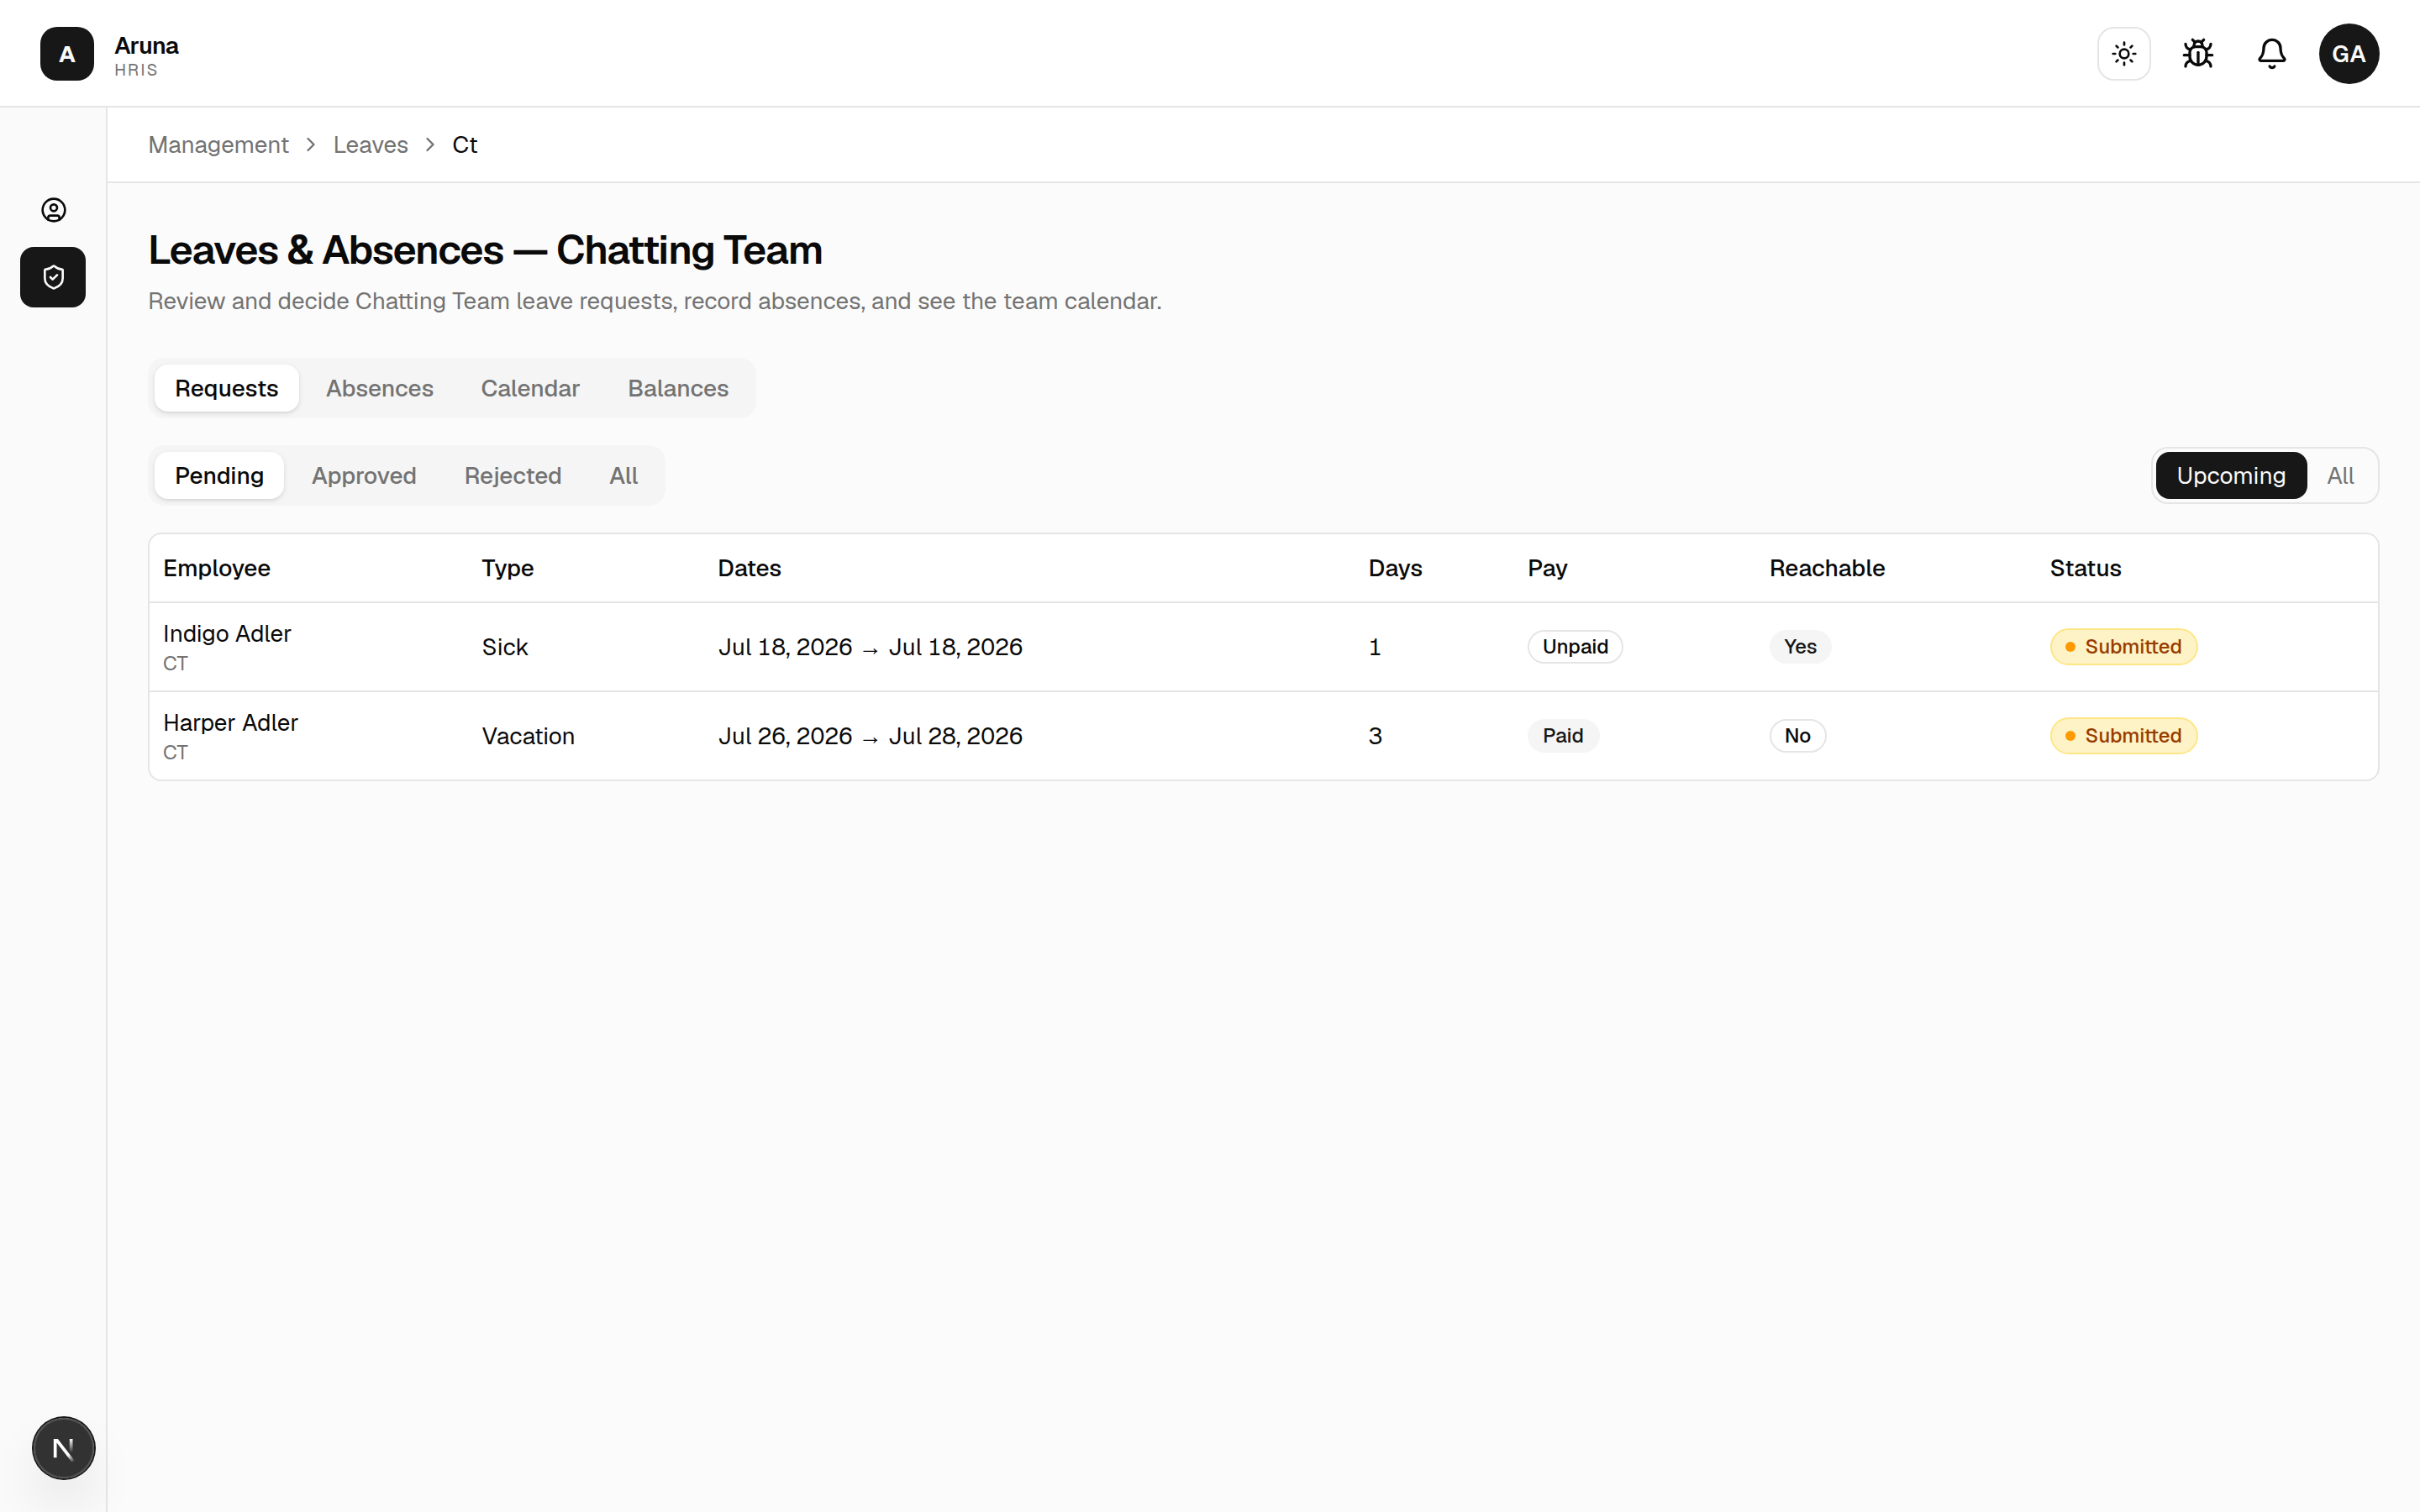
Four tabs: Requests, Absences, Calendar, Balances.
Requests — pending leave requests to approve or reject (single-stage: your decision is final). Filter by Pending / Approved / Rejected / All and toggle Upcoming / All. The table shows the request's Type and the Model it's assigned to (if the employee attached one). Click a row to open the decision dialog — it shows the days, pay, assigned model, reachability, and reason, with Approve as, an optional note, and Approve / Reject.
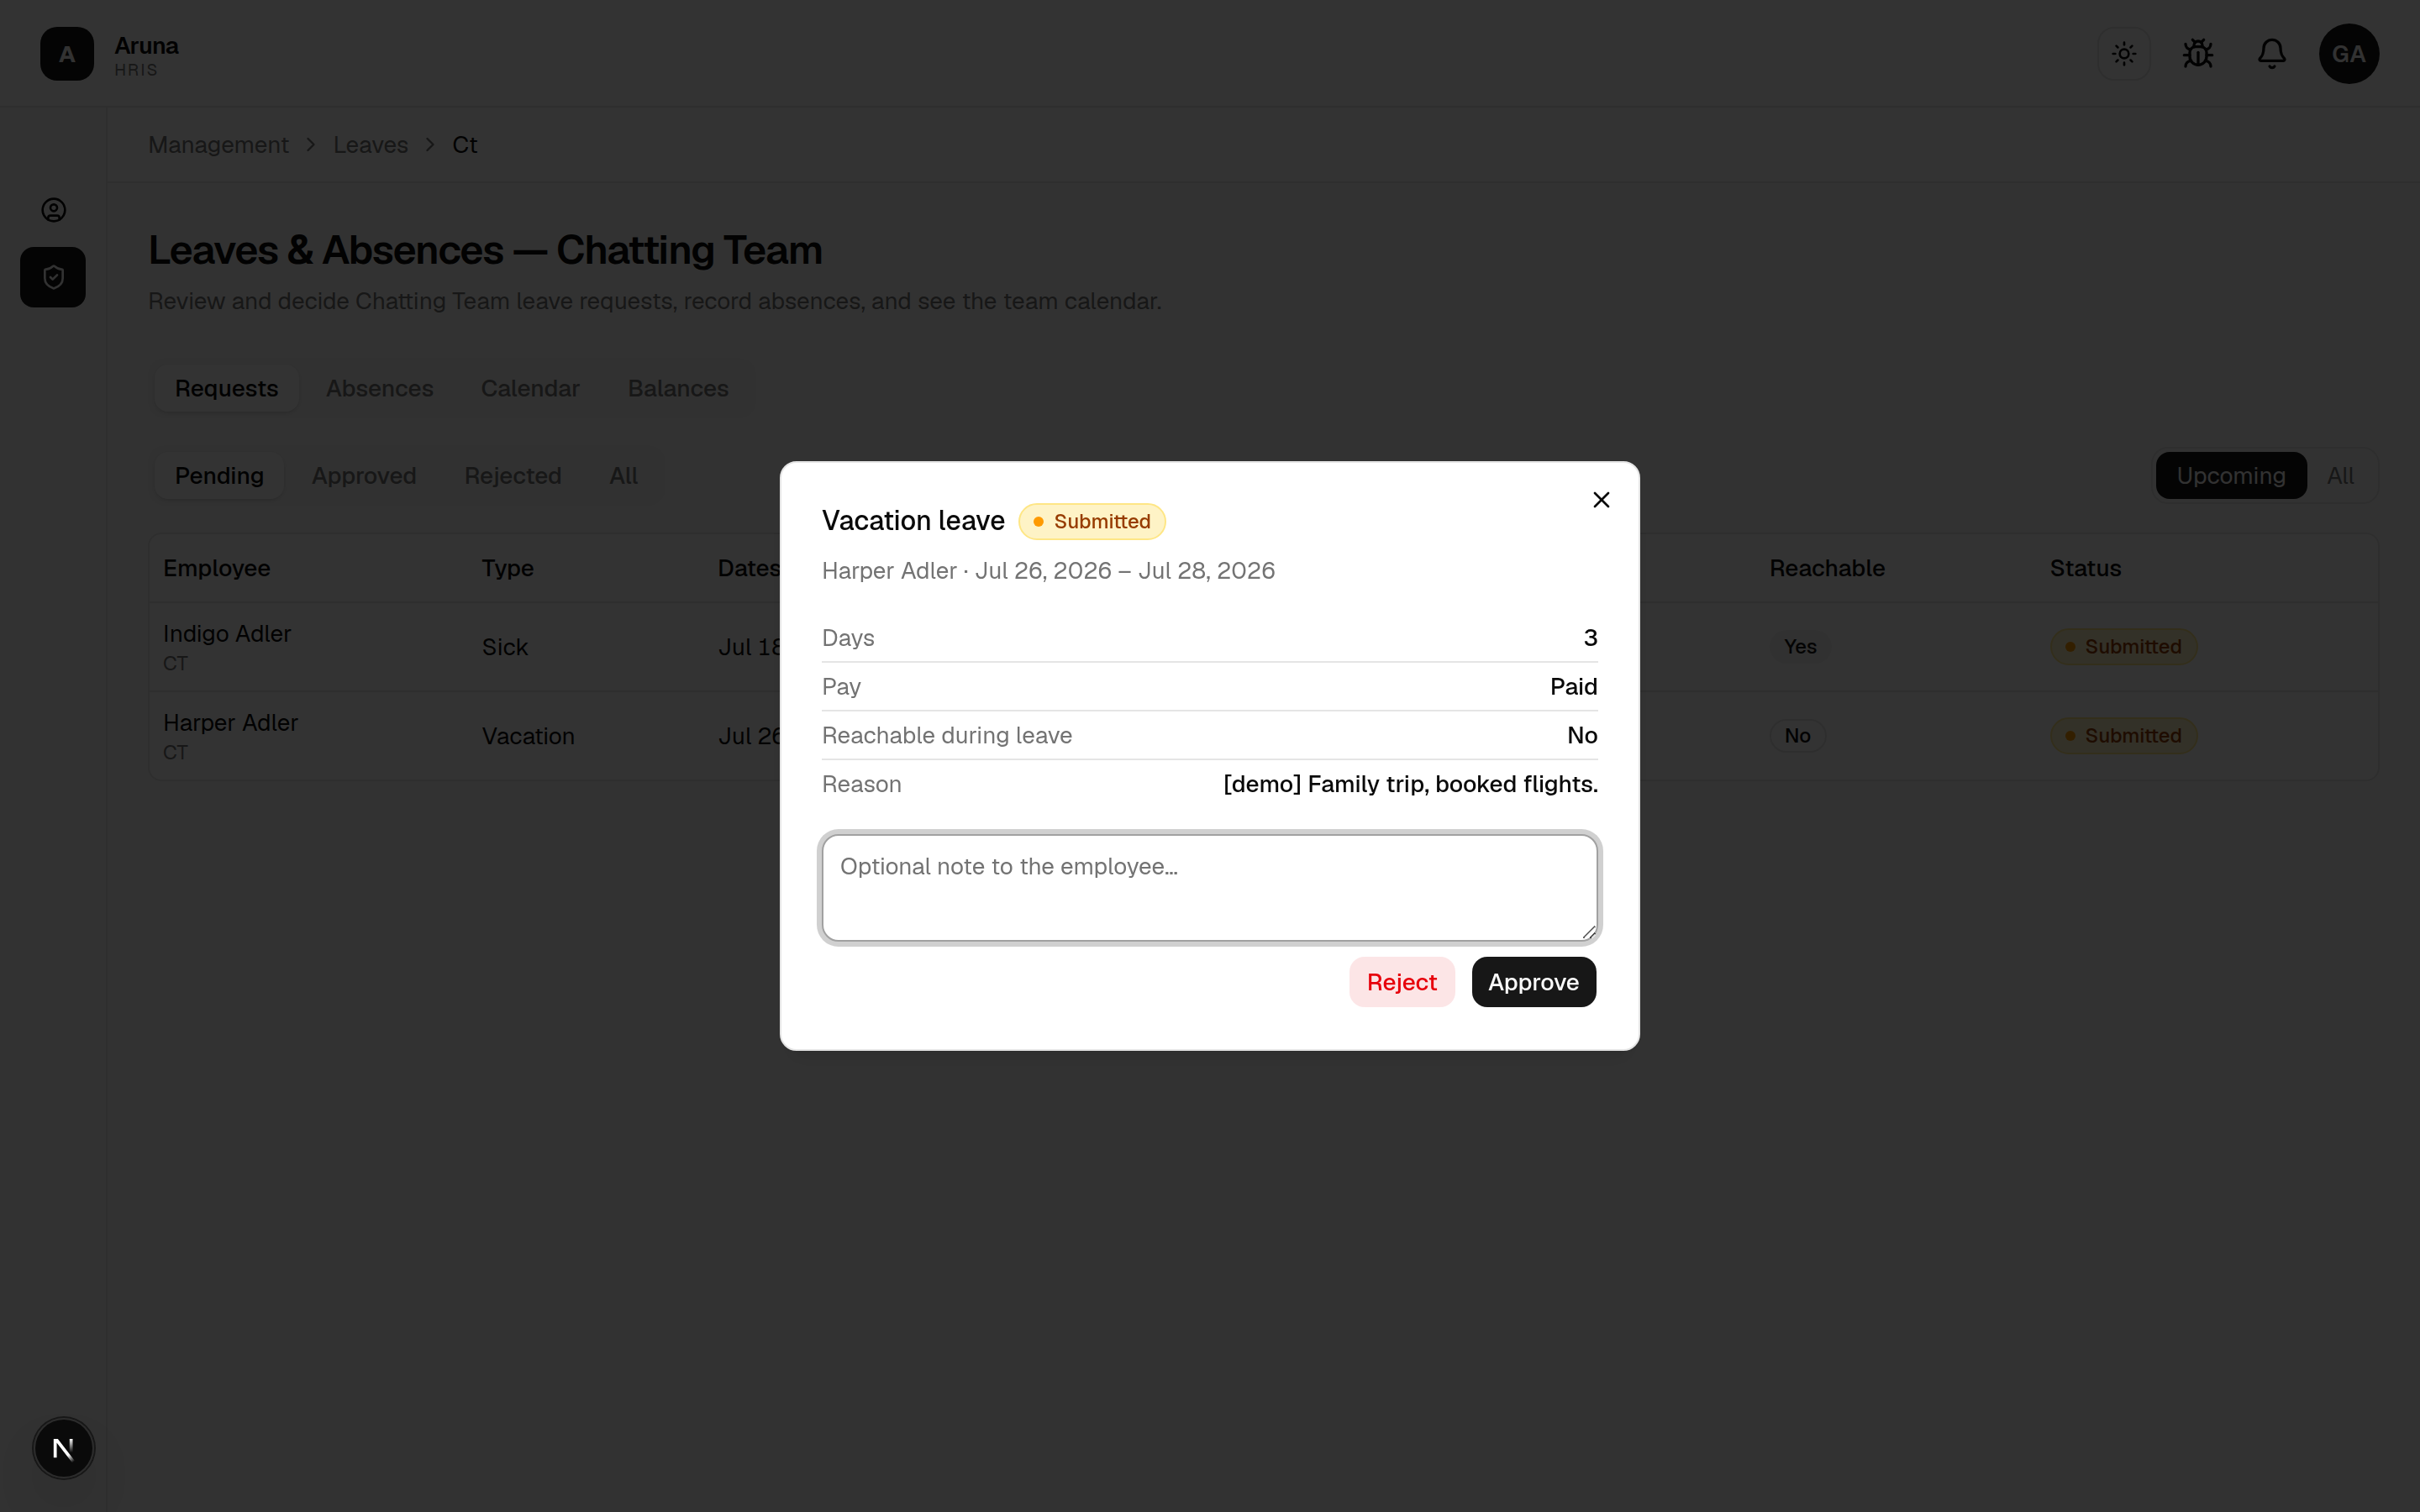
Approve as is yours to set. It starts on whatever the employee filed, and you can flip it either way before approving — your choice is what payroll books, not theirs. Granting Paid is checked against the employee's remaining paid credits at that moment: if they have none left, the approval is refused with a message telling you to approve it as unpaid instead. Either way the employee is emailed the outcome, and if you changed it the email says so explicitly.
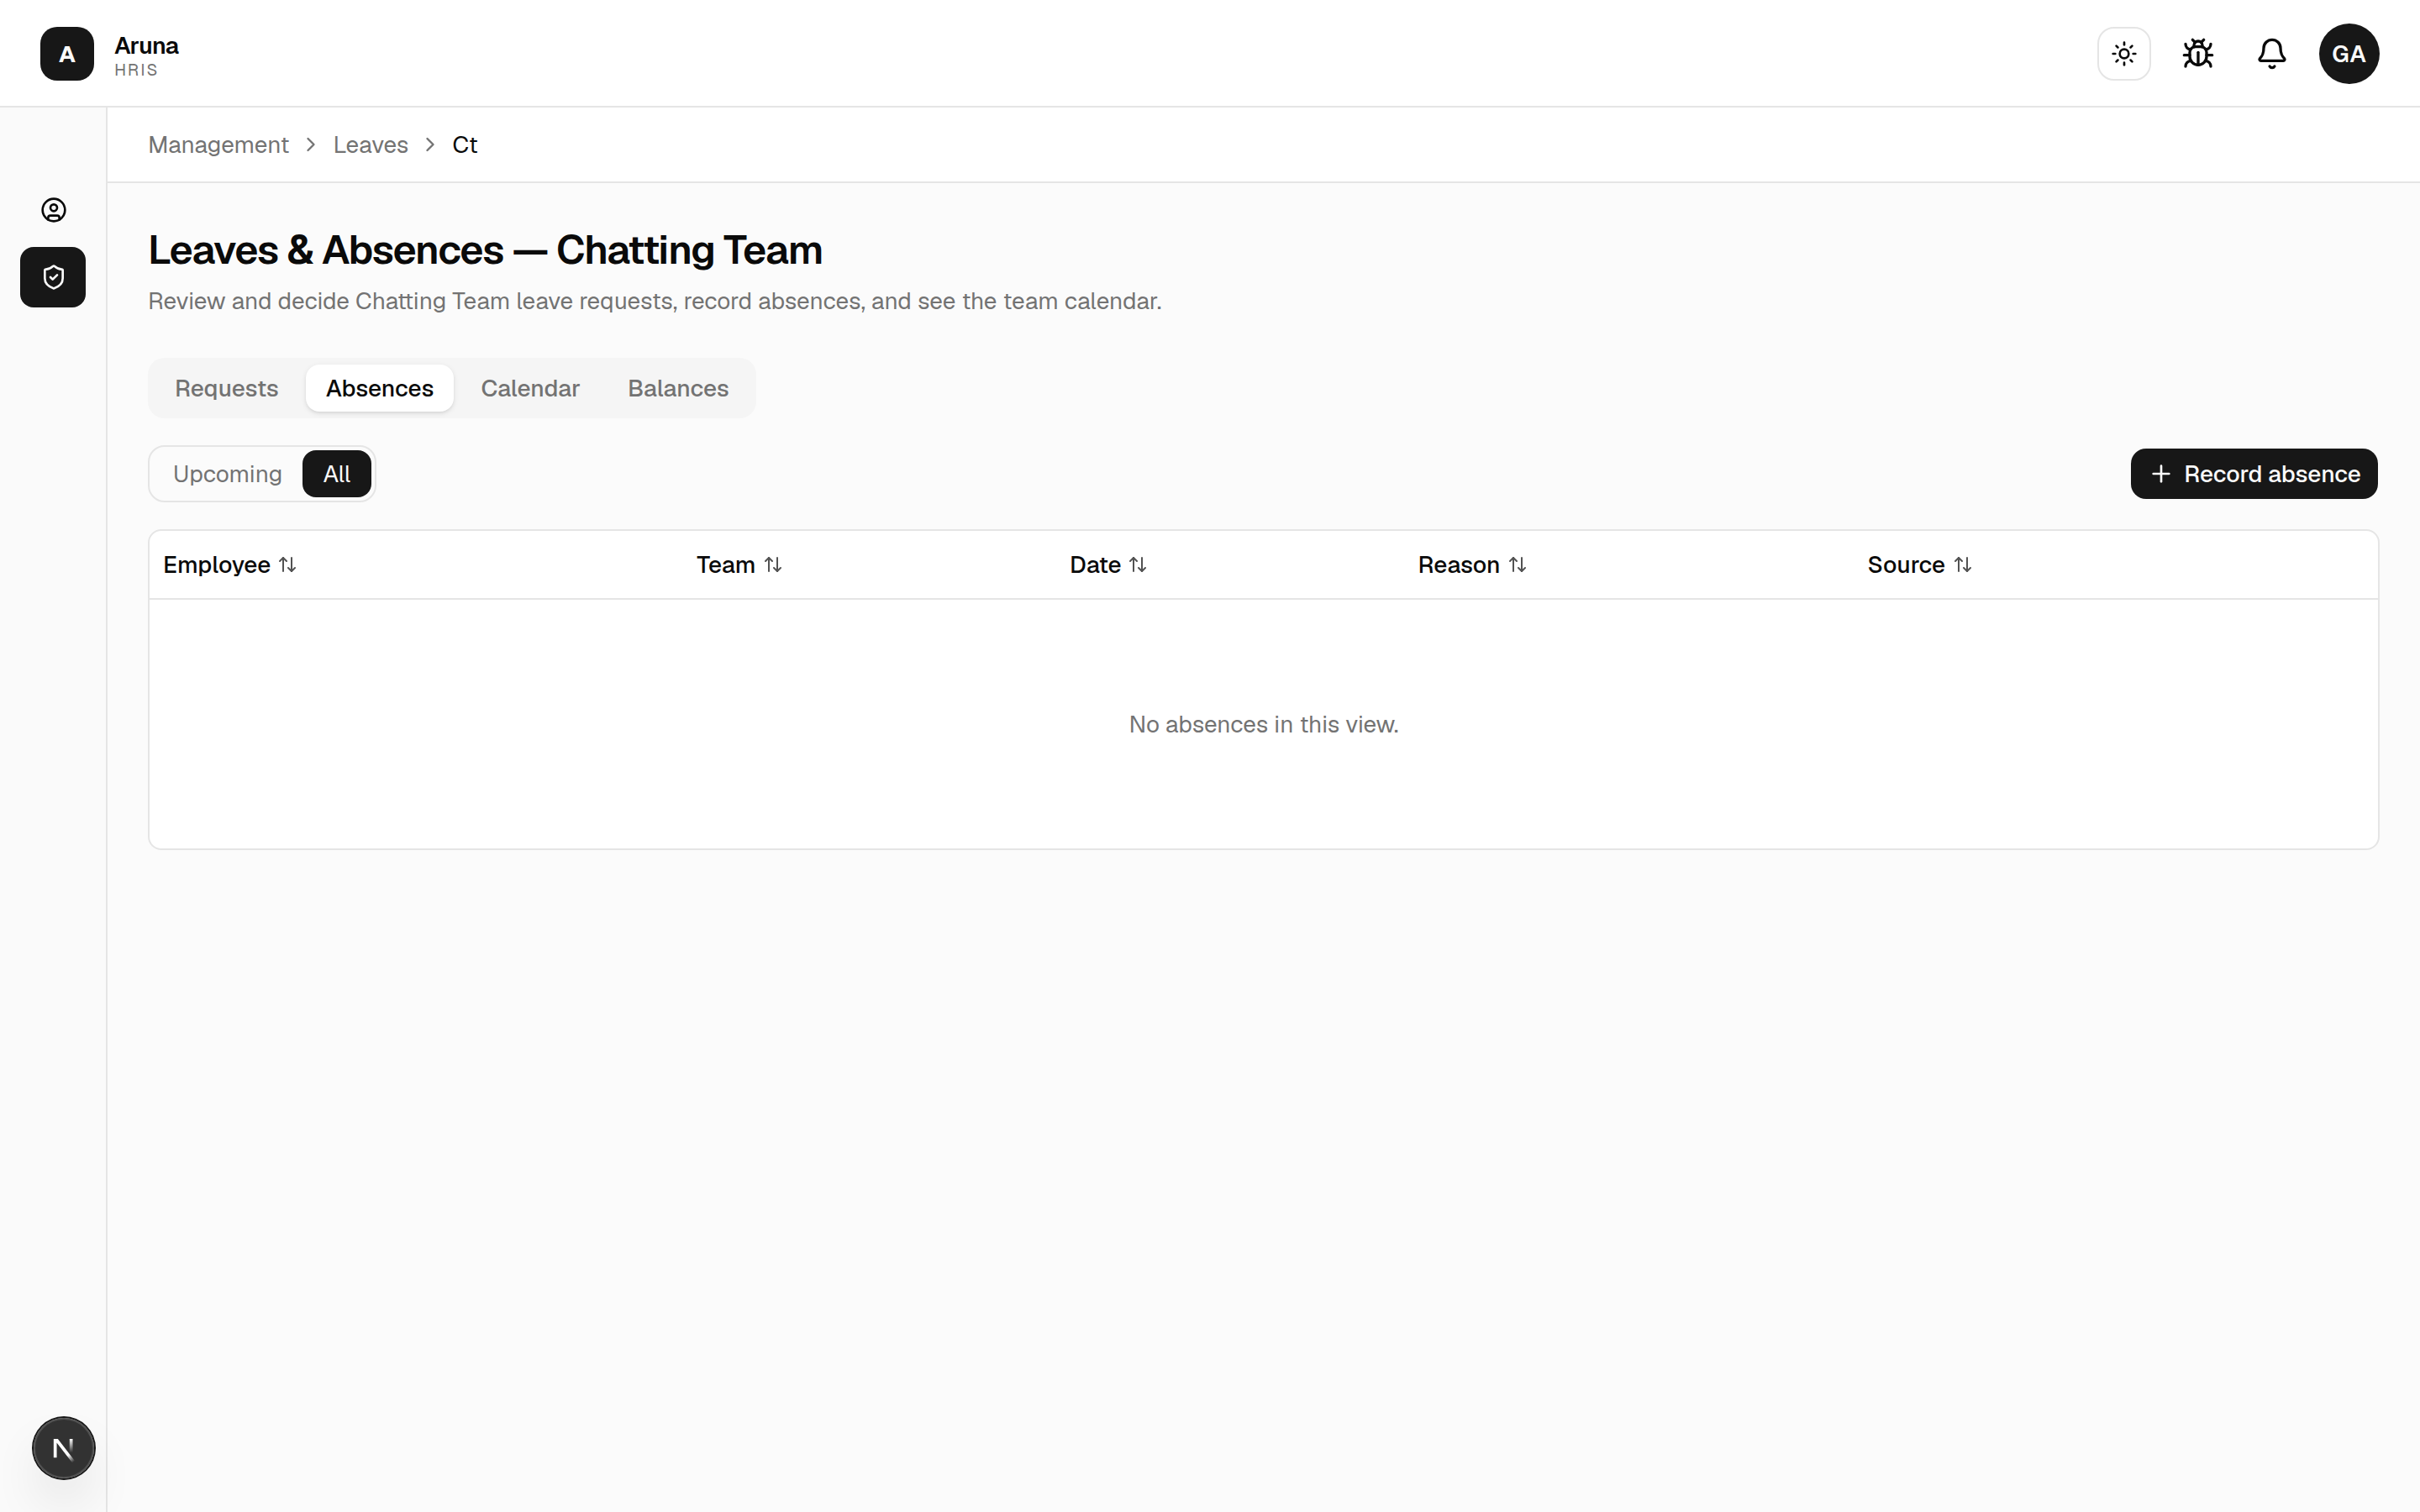
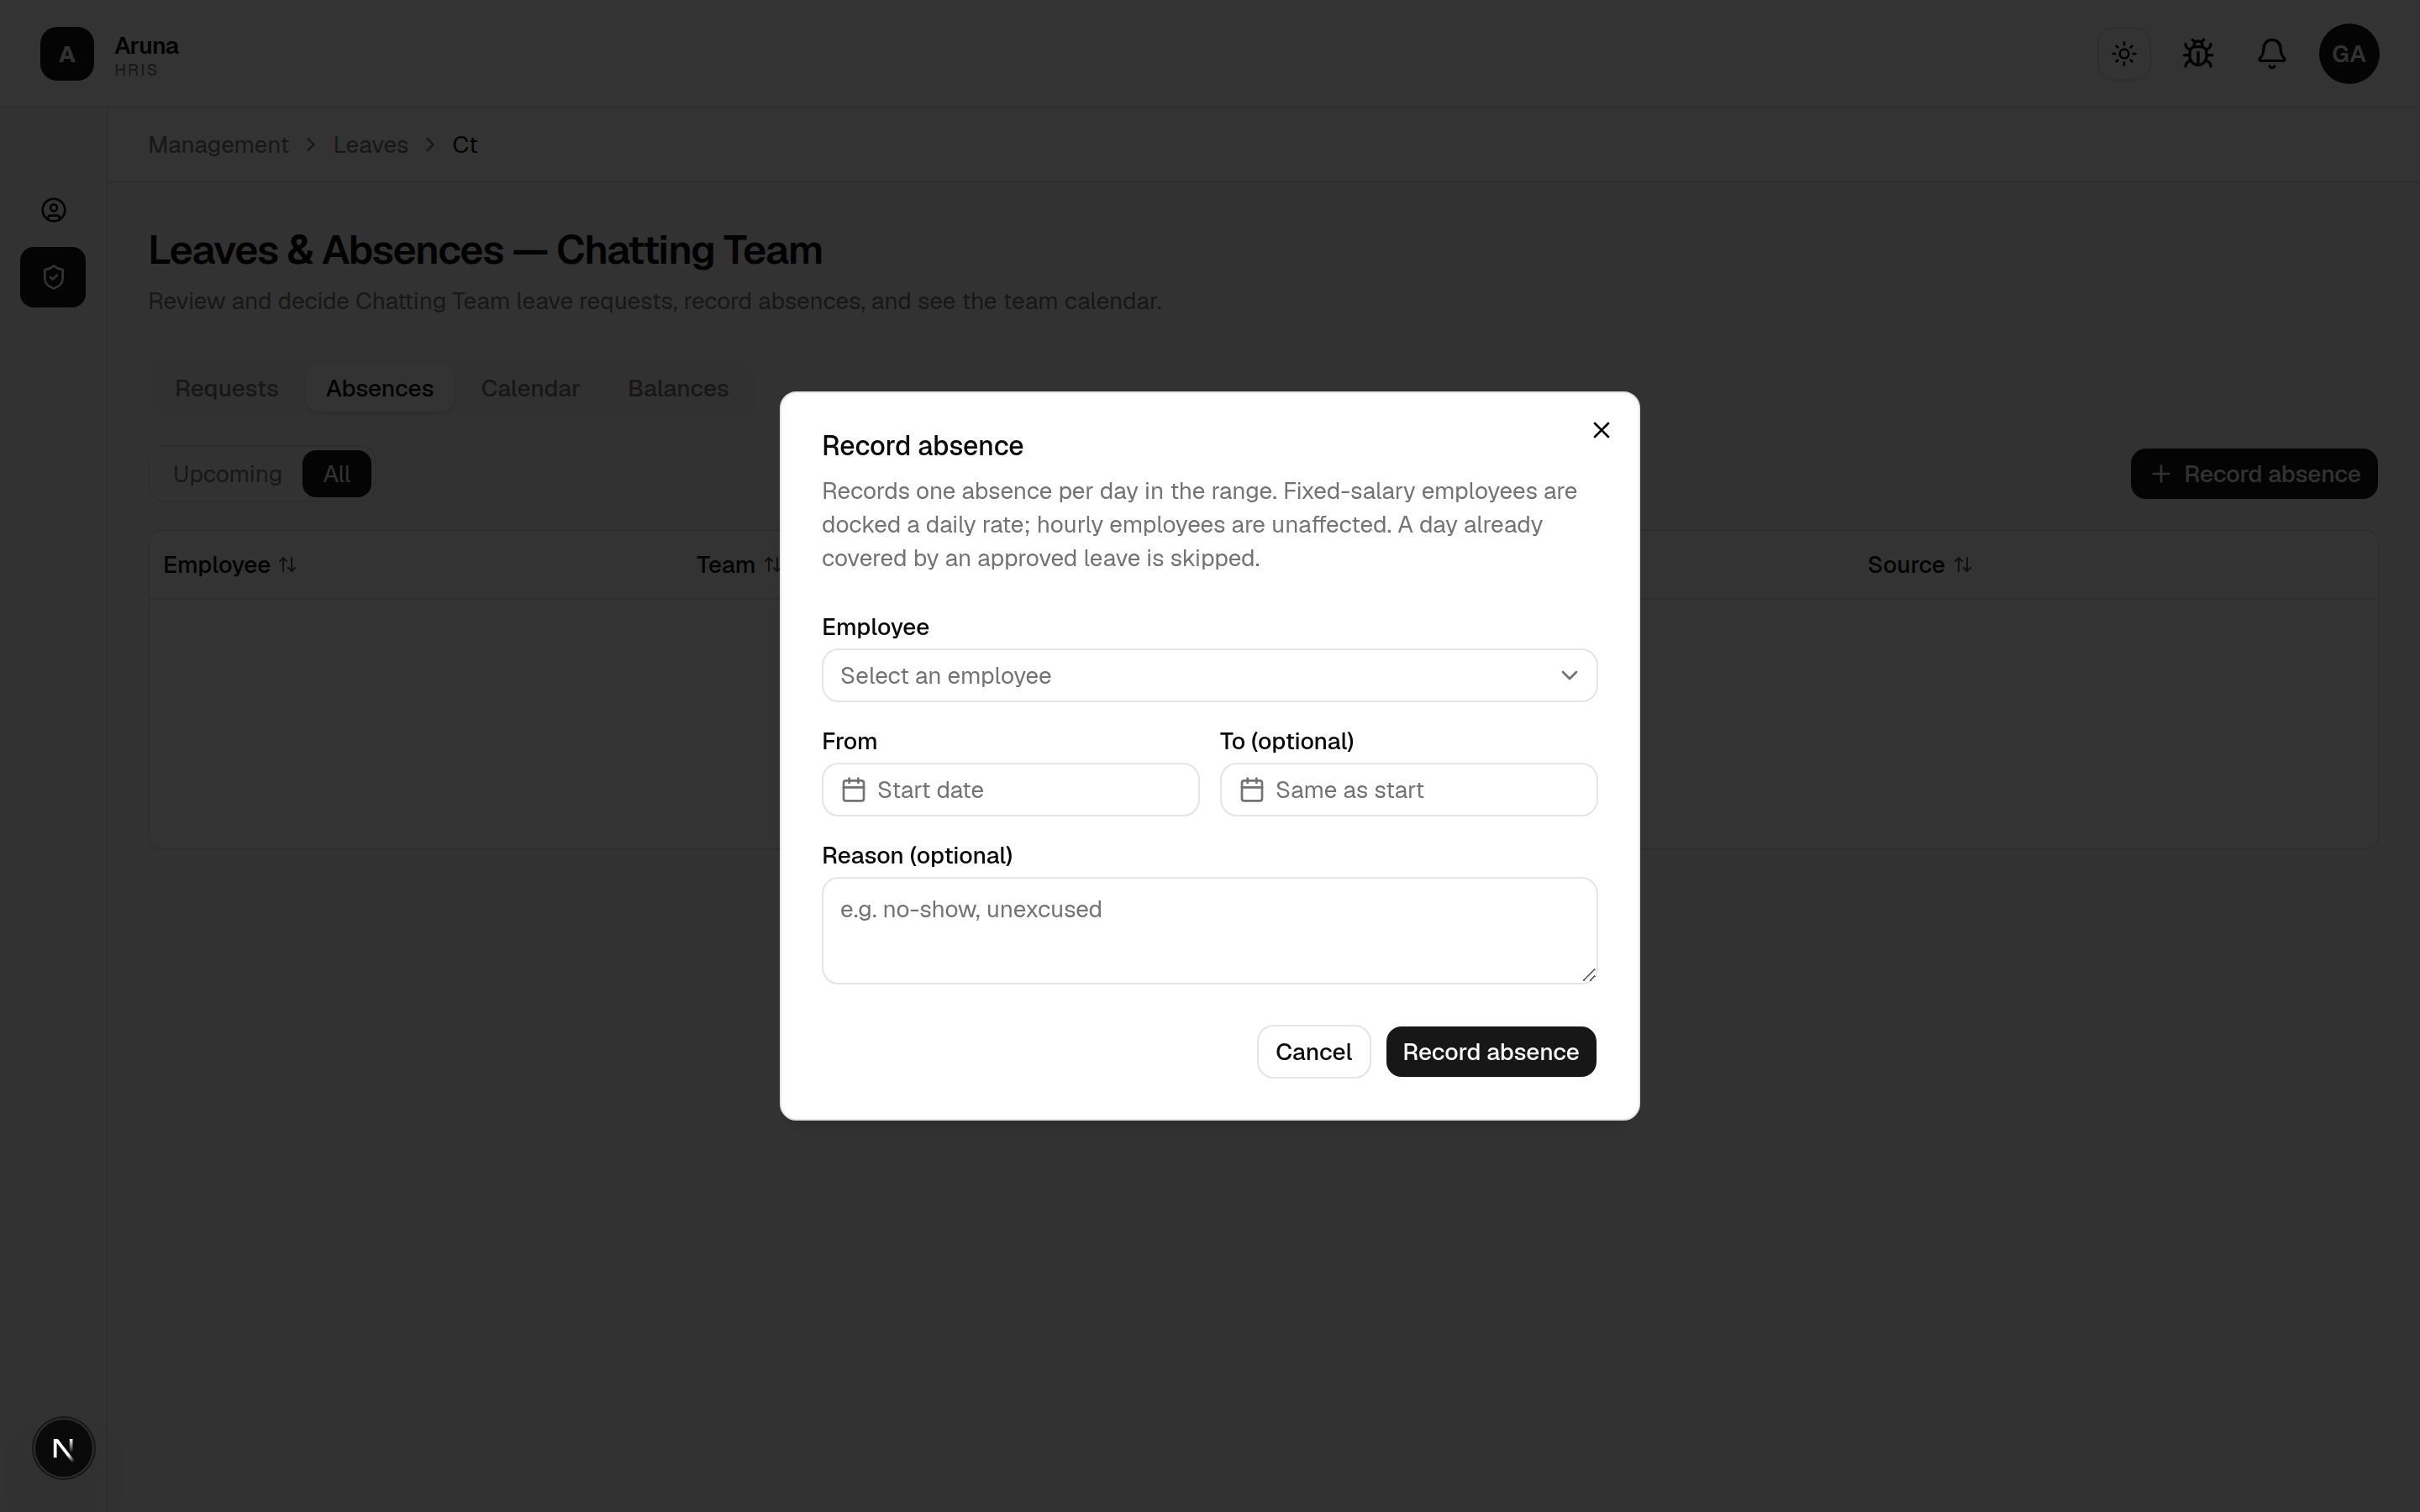
Absences — record unplanned absences.
Click Record absence, pick the employee and date range, and save. Fixed-salary employees are docked a daily rate; hourly employees are unaffected; a day already covered by approved leave is skipped.
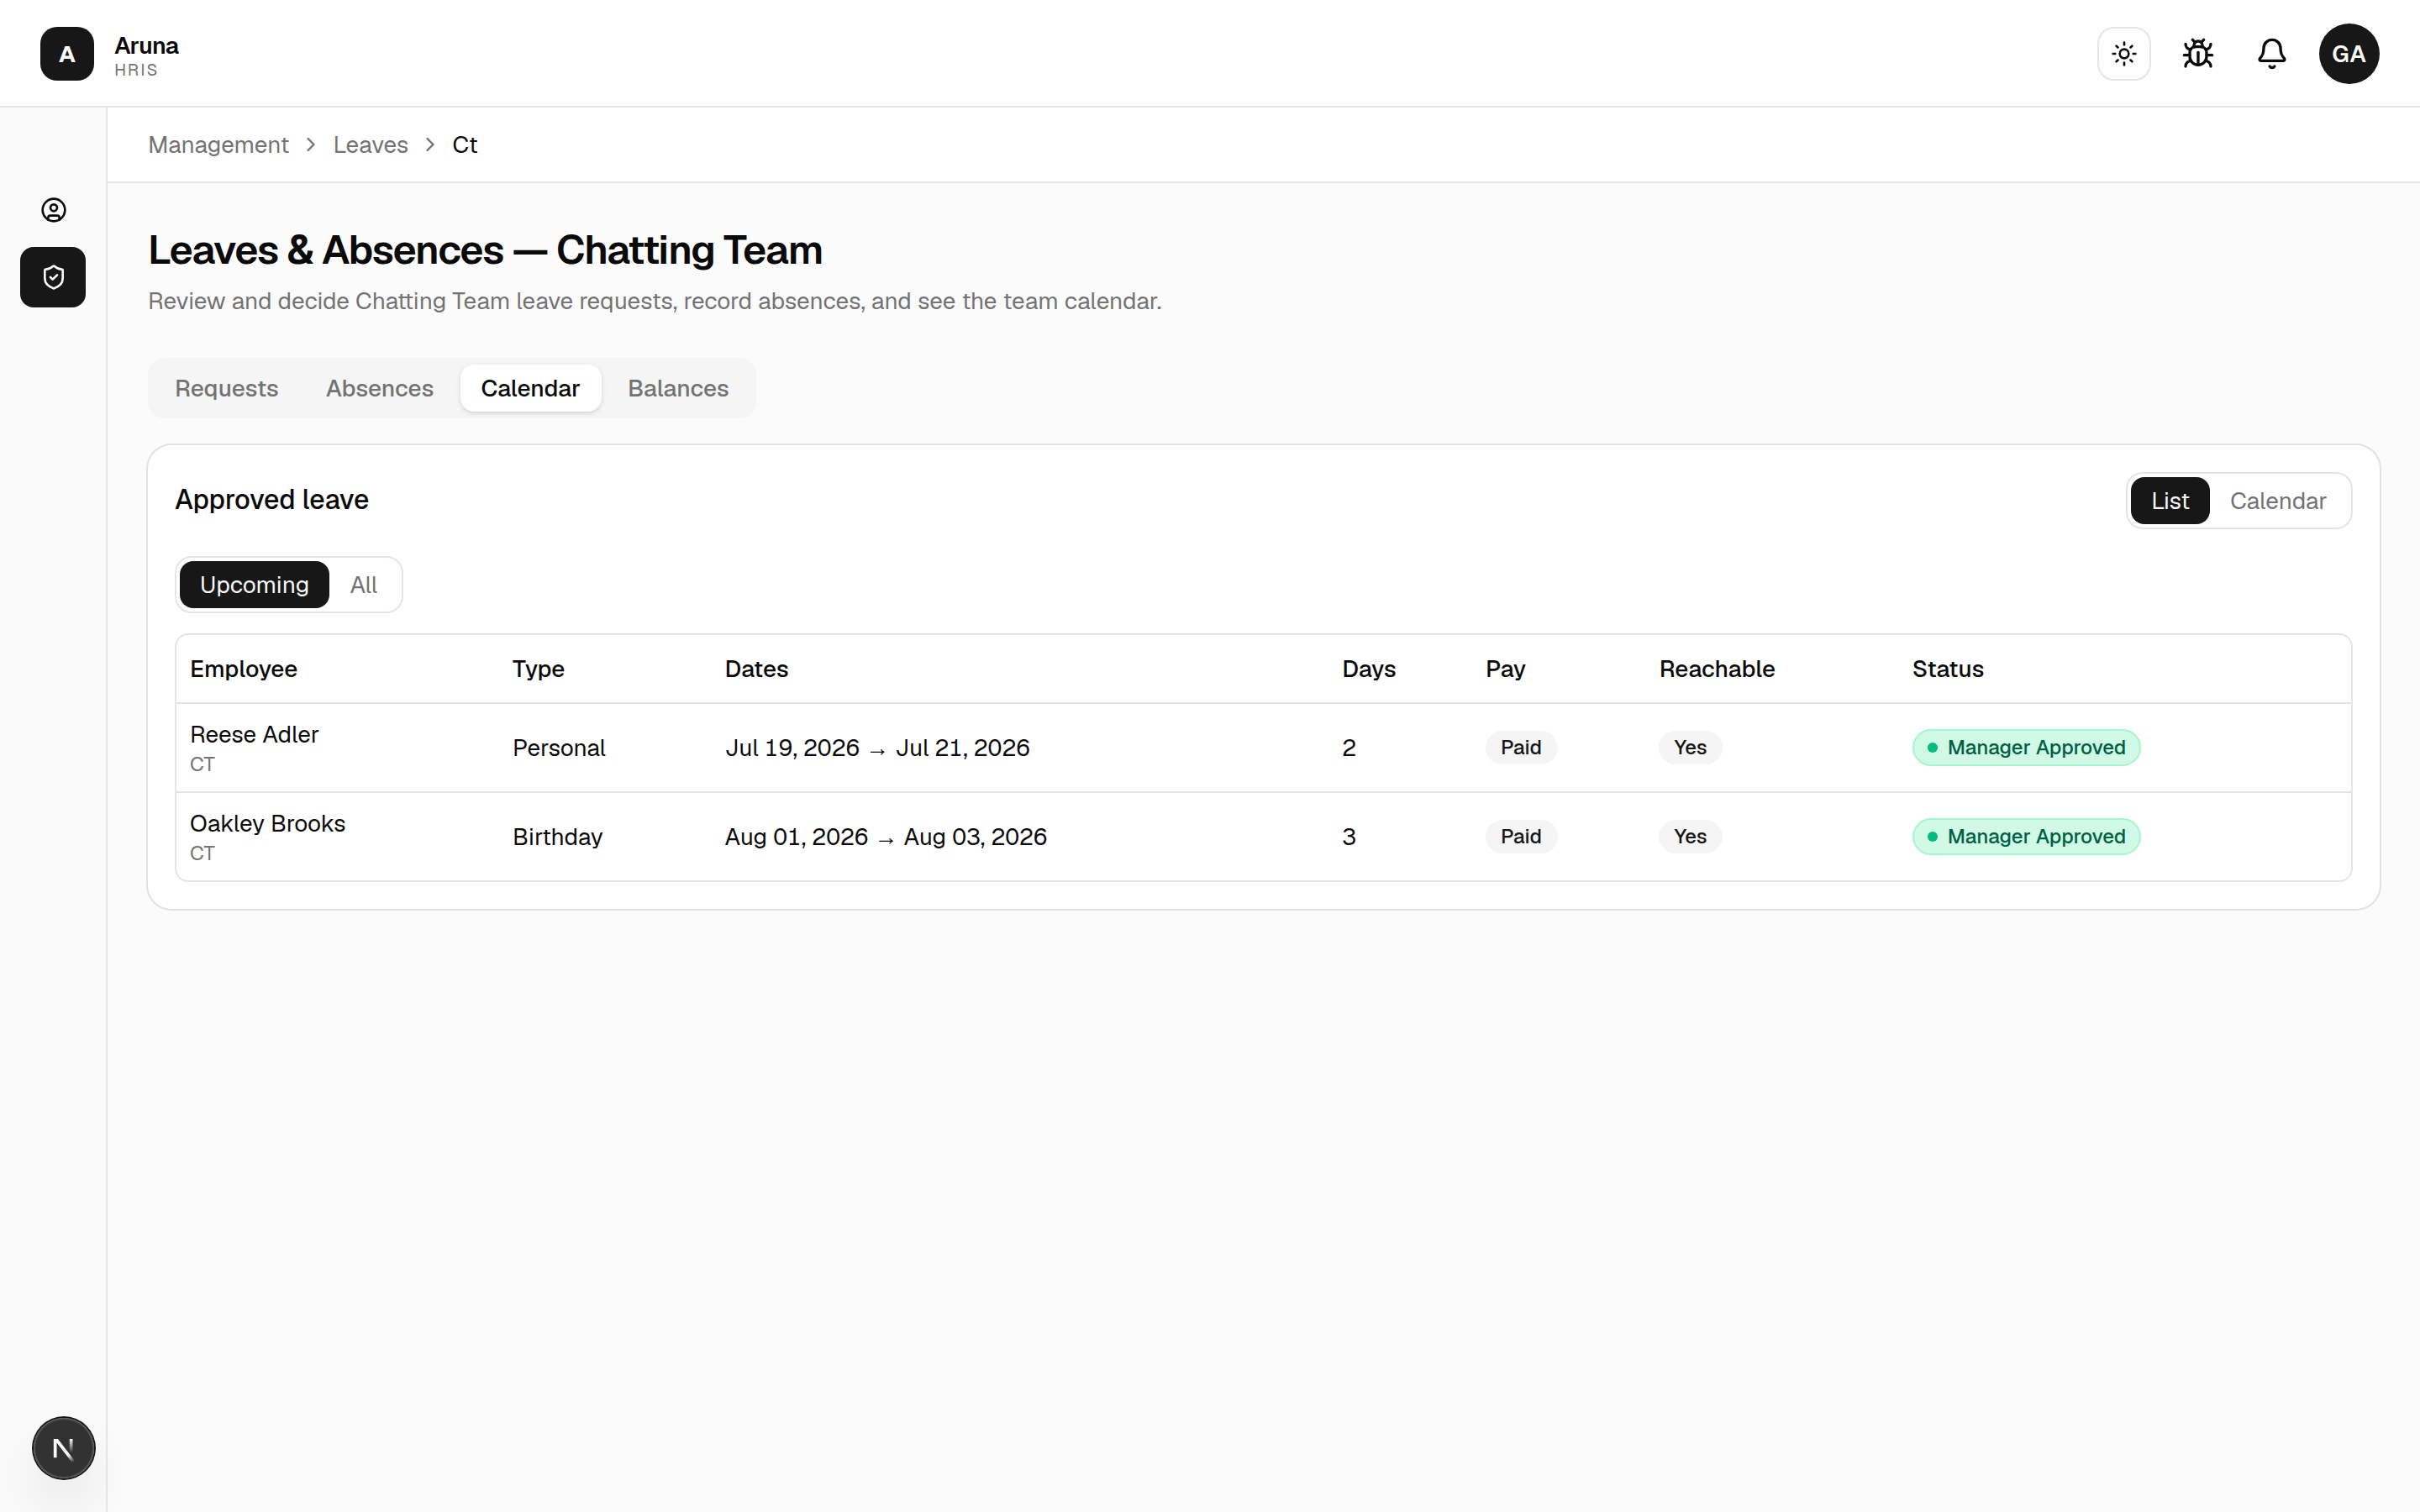
Calendar — a team view of approved leave, as a list or a calendar.
Balances — each team member's remaining leave credits (total and paid), with "not eligible" shown for those still inside the paid-eligibility window.
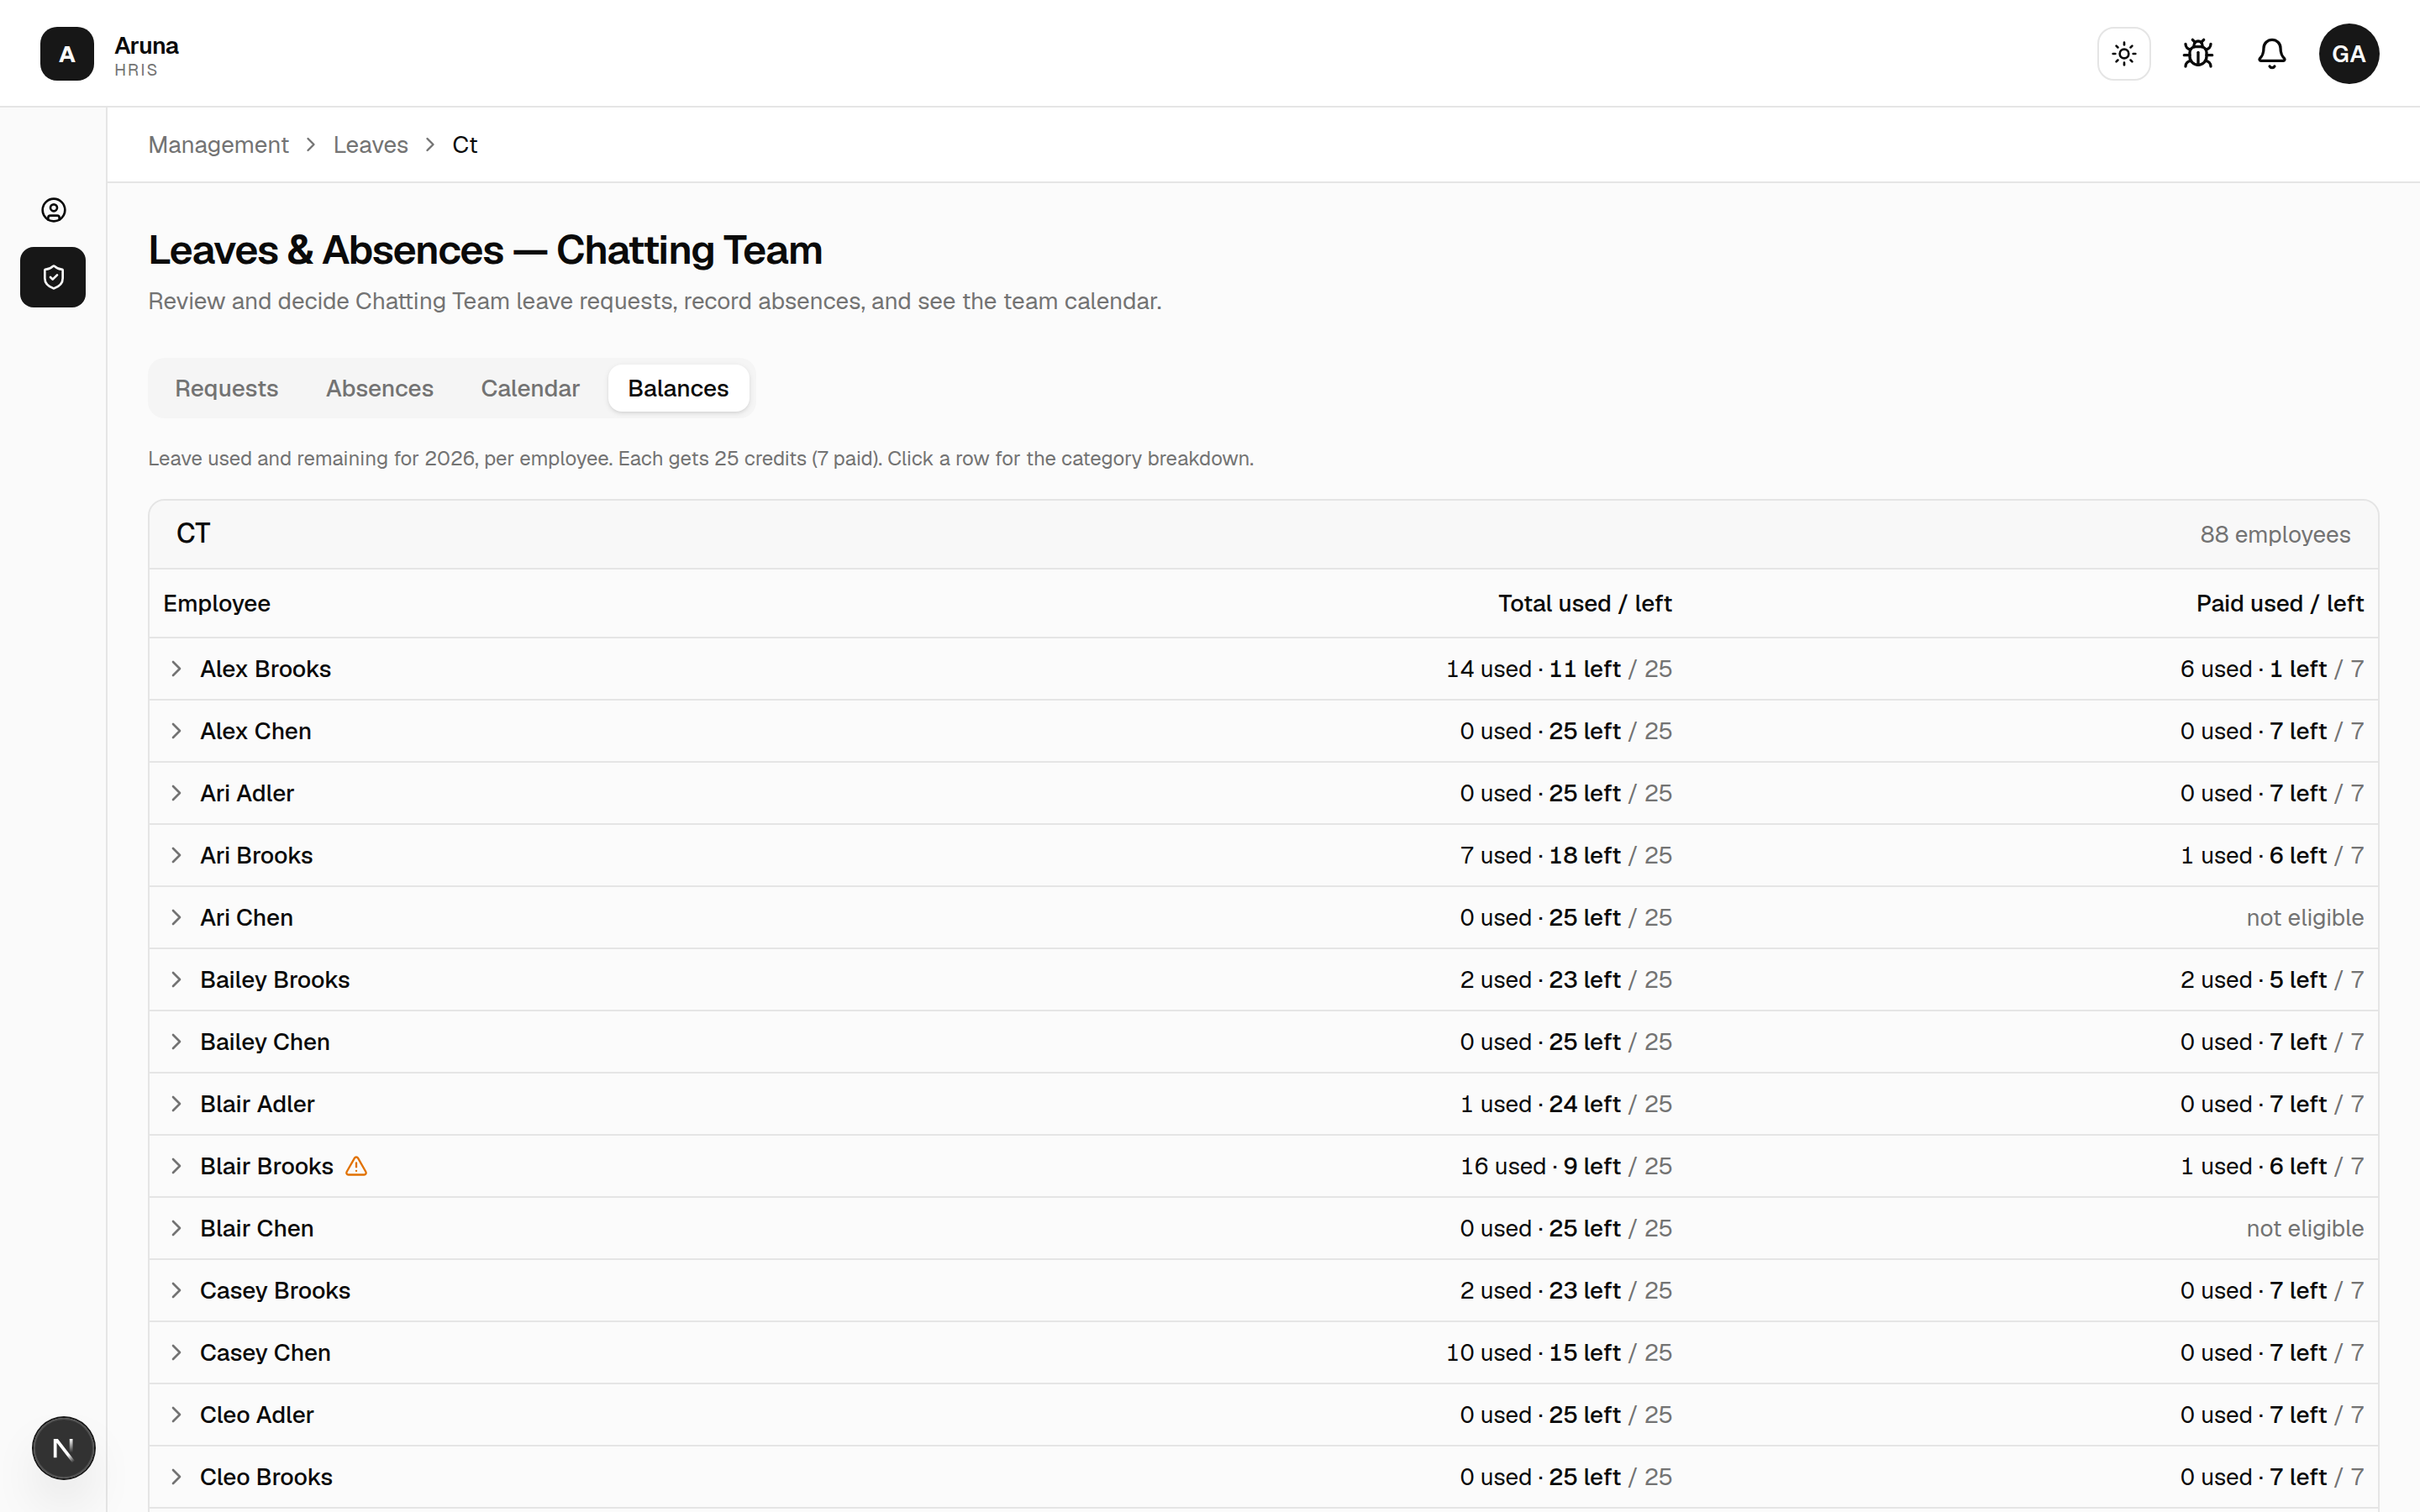
The Alignment call column is P&C's. Anyone who has used 15 of their 25 credits is flagged for an attendance conversation with People & Culture; you can see whether that call has happened, and filter on it, but only P&C can record one. It doesn't block leave, and it isn't something you need to action — see the P&C guide.
Leave approval is single-stage and per-department — there's no second approver, and you settle whether the leave is paid. The employee's choice on the request form is only a preference; the paid credits they have left are the one limit on what you can grant.
4. Post announcements
Open Announcements from your team's Management tab. Use it to post to your team and to see everything that's been posted — including the automatic birthday and work-anniversary greetings.
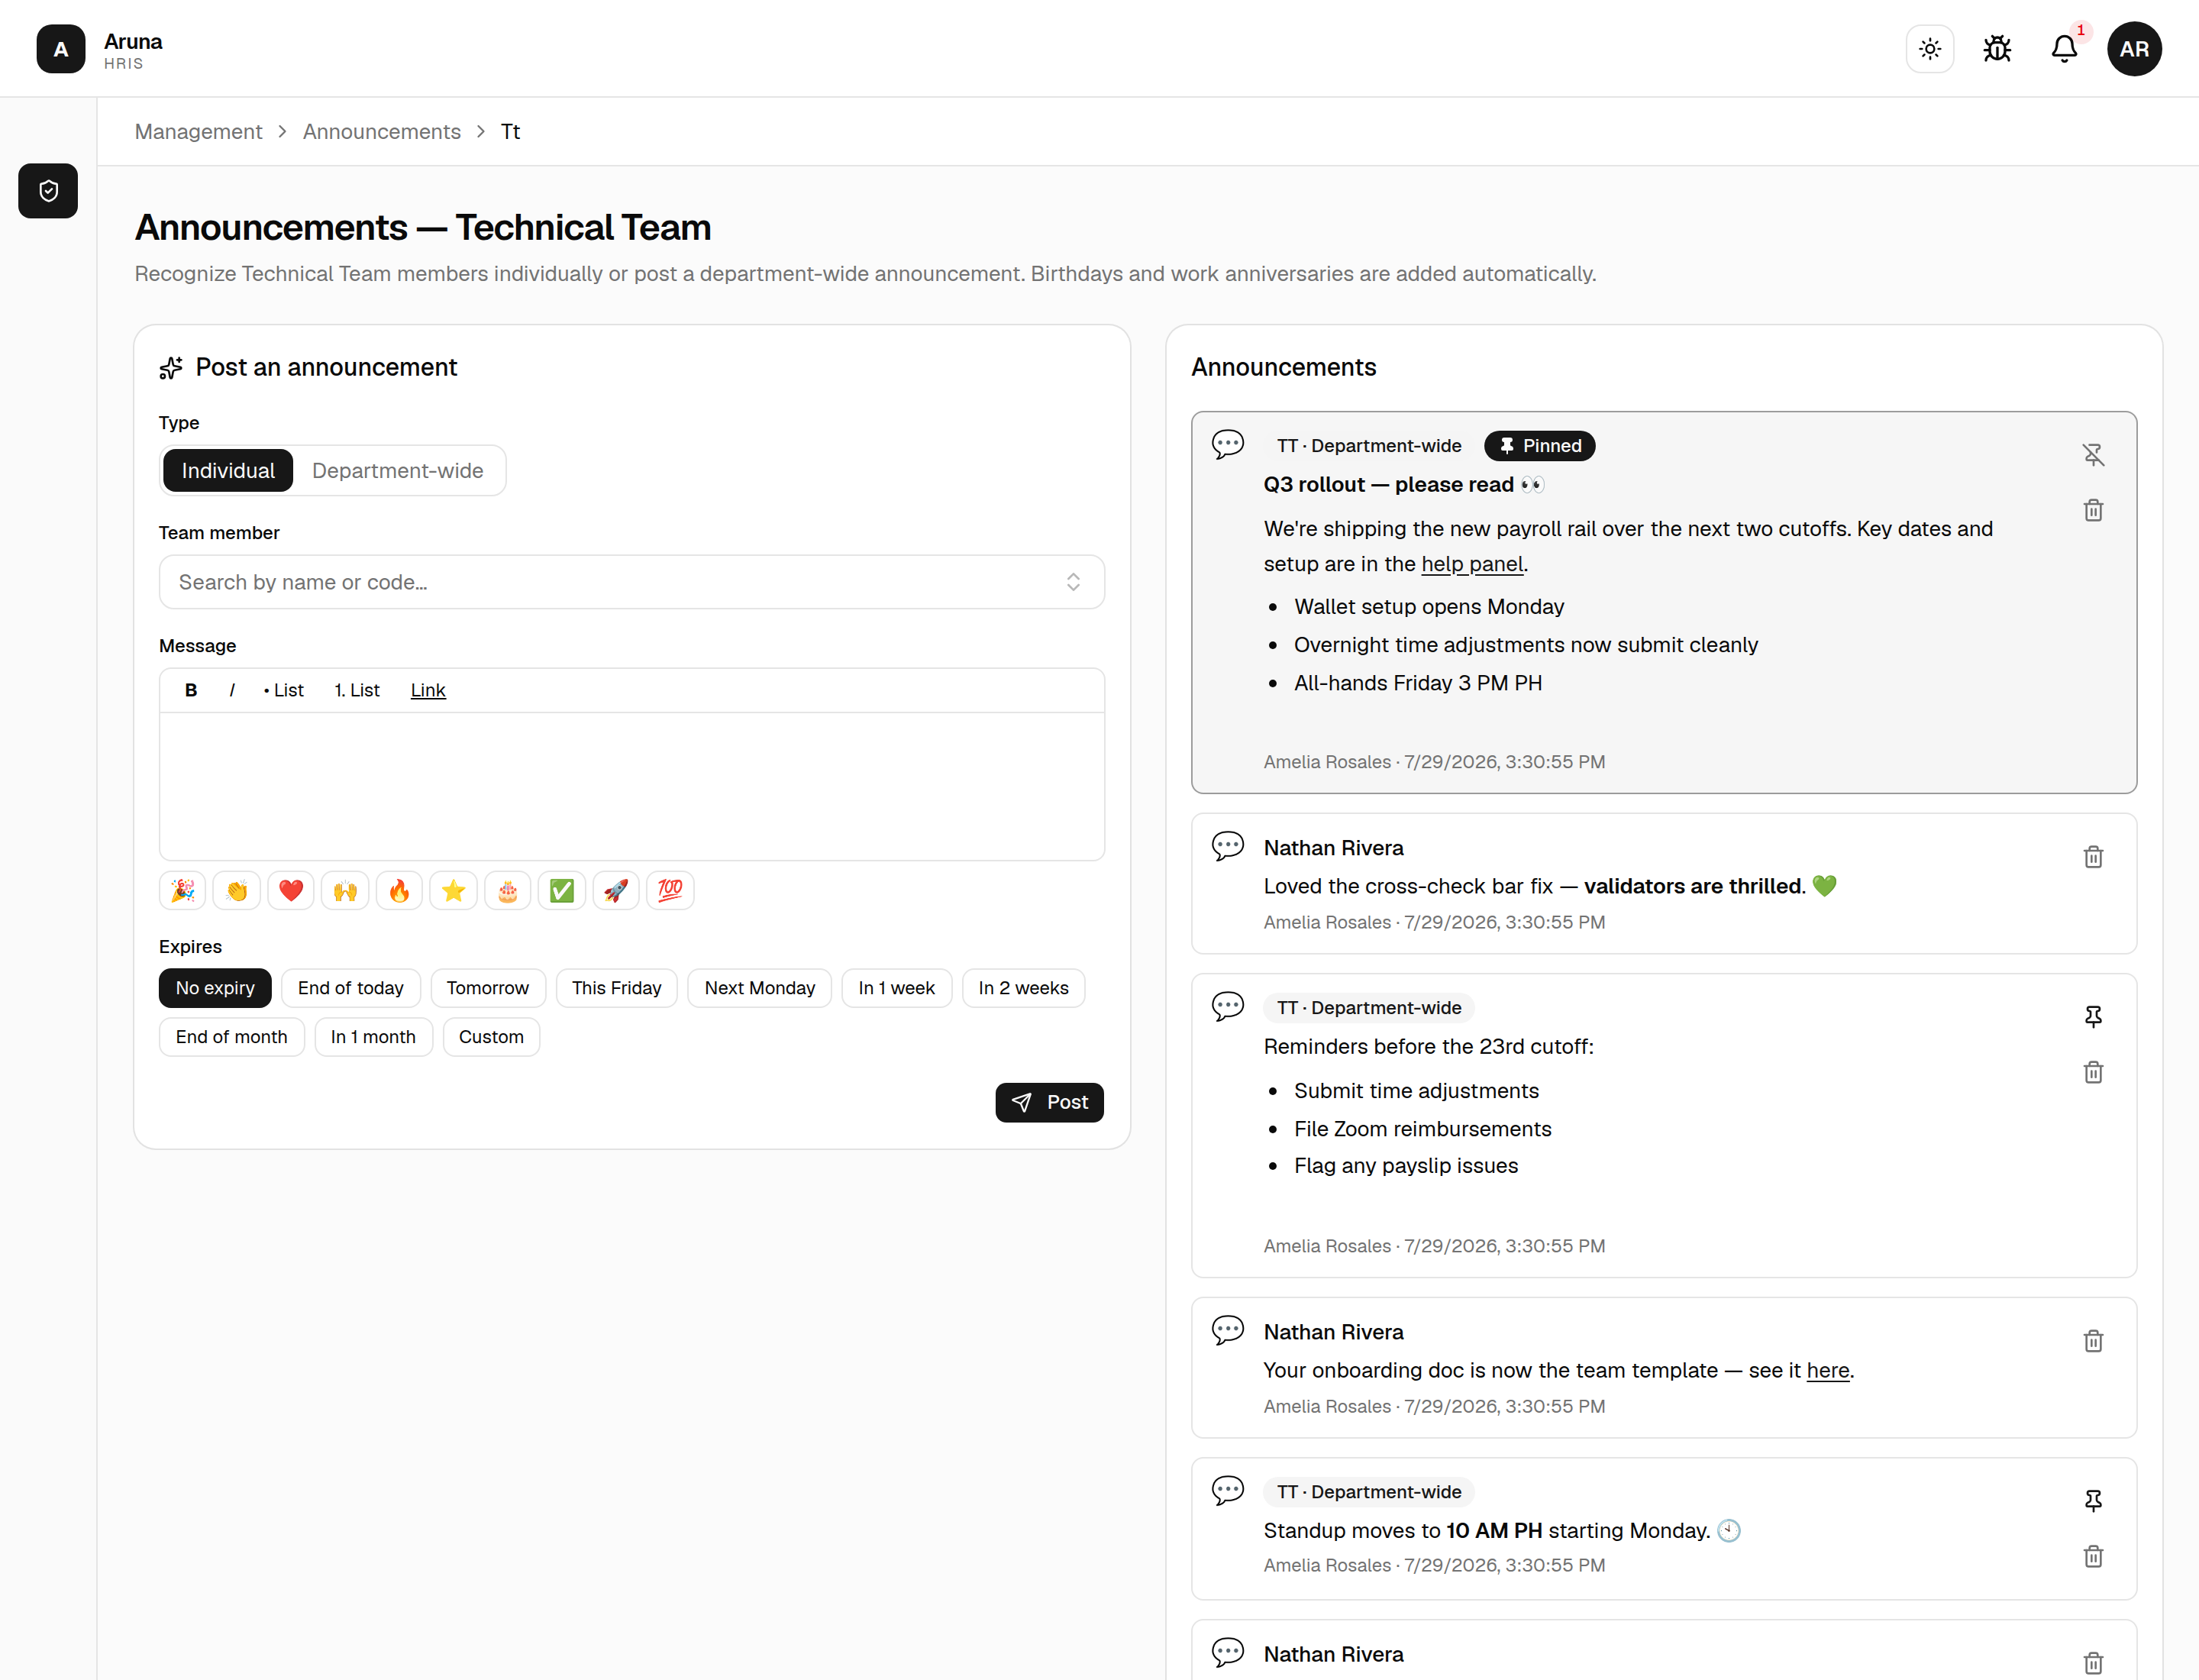
Post one:
- Pick a type — Individual (one team member) or Department-wide (everyone on the team).
- Write the message in the rich-text editor — bold, italic, bullet / numbered lists, and links are supported; add emoji from the quick row.
- Optionally set an expiry — a shortcut (This Friday, Next Monday, In 1 week, …) or a custom date + timezone. After it, the post drops off dashboards.
- Post. Everyone it's addressed to sees it on their dashboard and gets an email.
Pin a team notice. Use the pin icon on any department-wide post to lift it to the top of every team member's dashboard, where it stays above the rest of the feed. Only one post can be pinned per team — pinning a new one unpins the previous; click the icon again to unpin.
You only post to teams you manage; P&C can post to any department. The automatic birthday / anniversary posts show here too but can't be edited.
Troubleshooting
| Problem | What to do |
|---|---|
| I don't see the Management area | You have no management grant at all → ask P&C |
| I see the Management area but a card is missing | Team tools are granted one by one — ask P&C for that specific tool |
| A teammate's request isn't in my queue | They may be in another department; transfers move pending items to the new team |
| I can't see another team's requests | By design — managers are scoped to their own team only |
| Rejected by mistake | Re-open via the All tab; add a note explaining the correction |